


Please find below the installation kits and installation procedures for the Europanel decorative fiberglass wall covering panels.
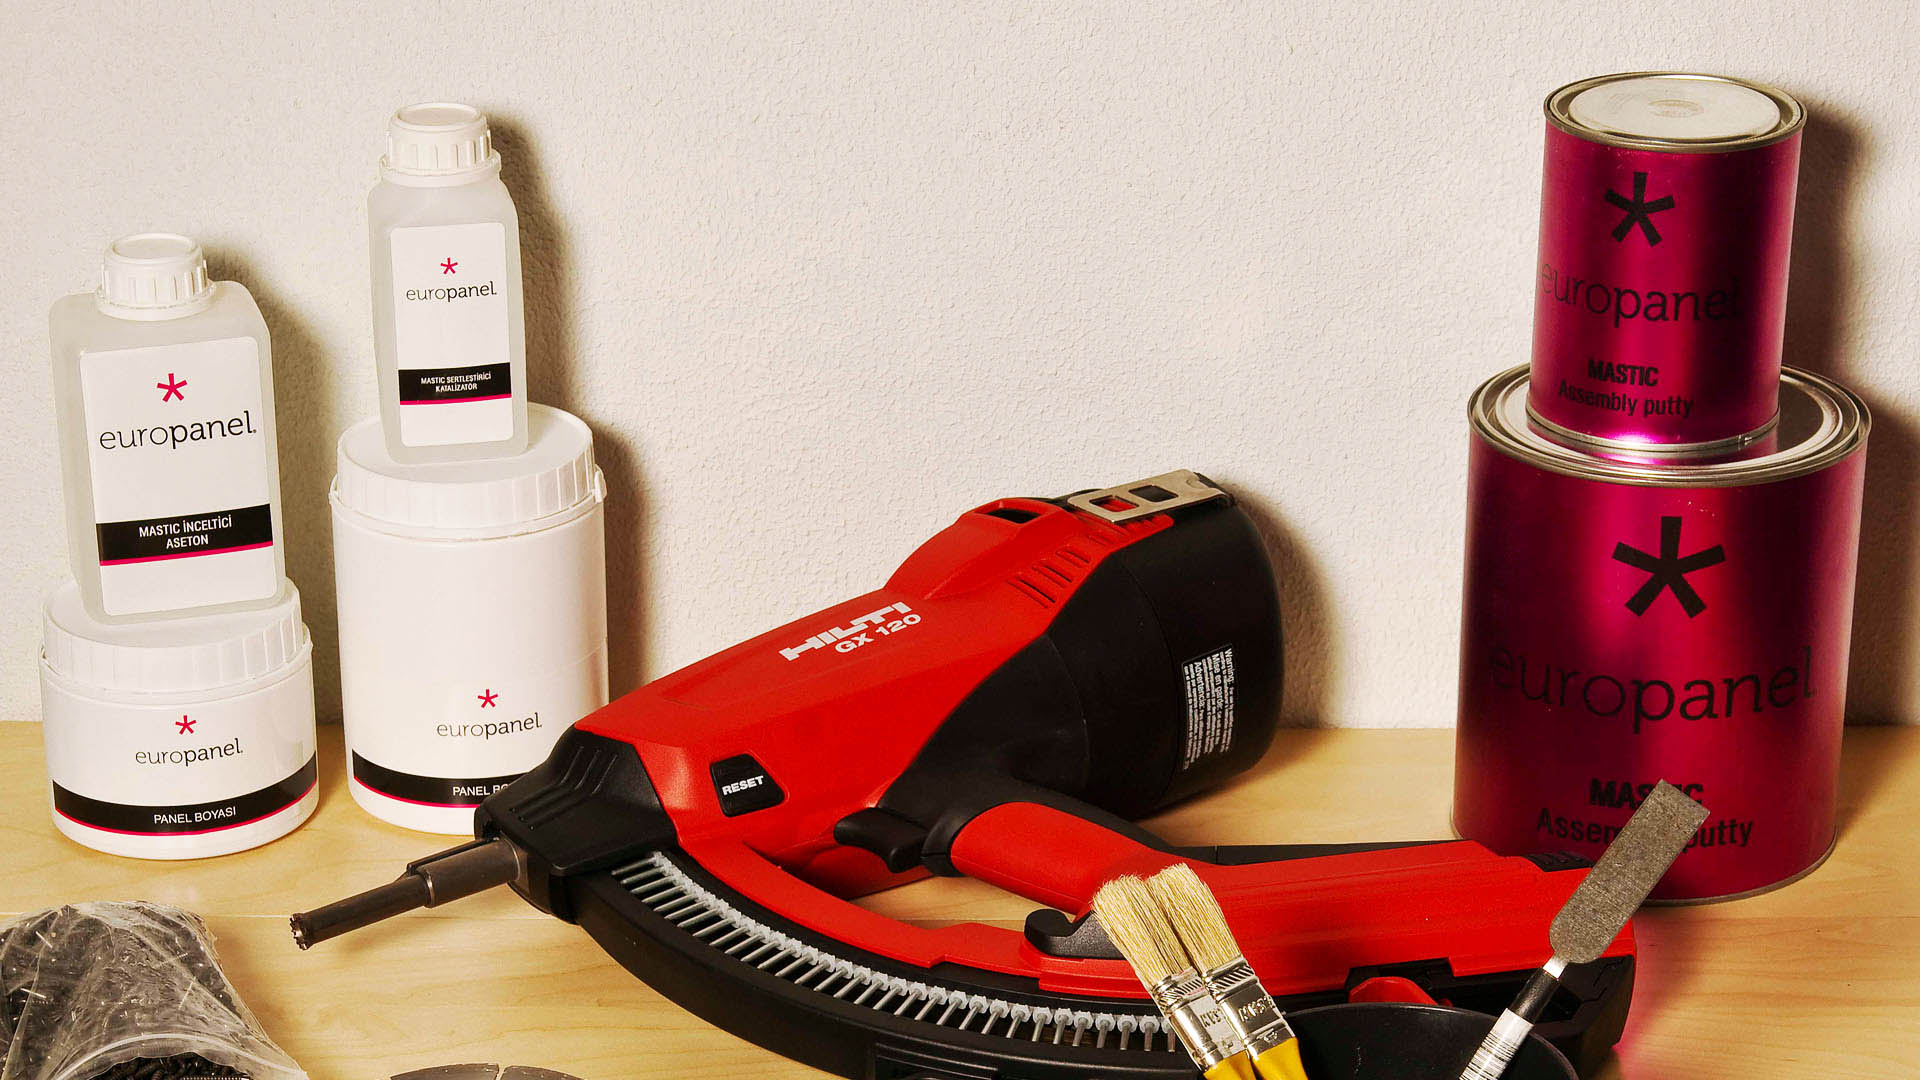
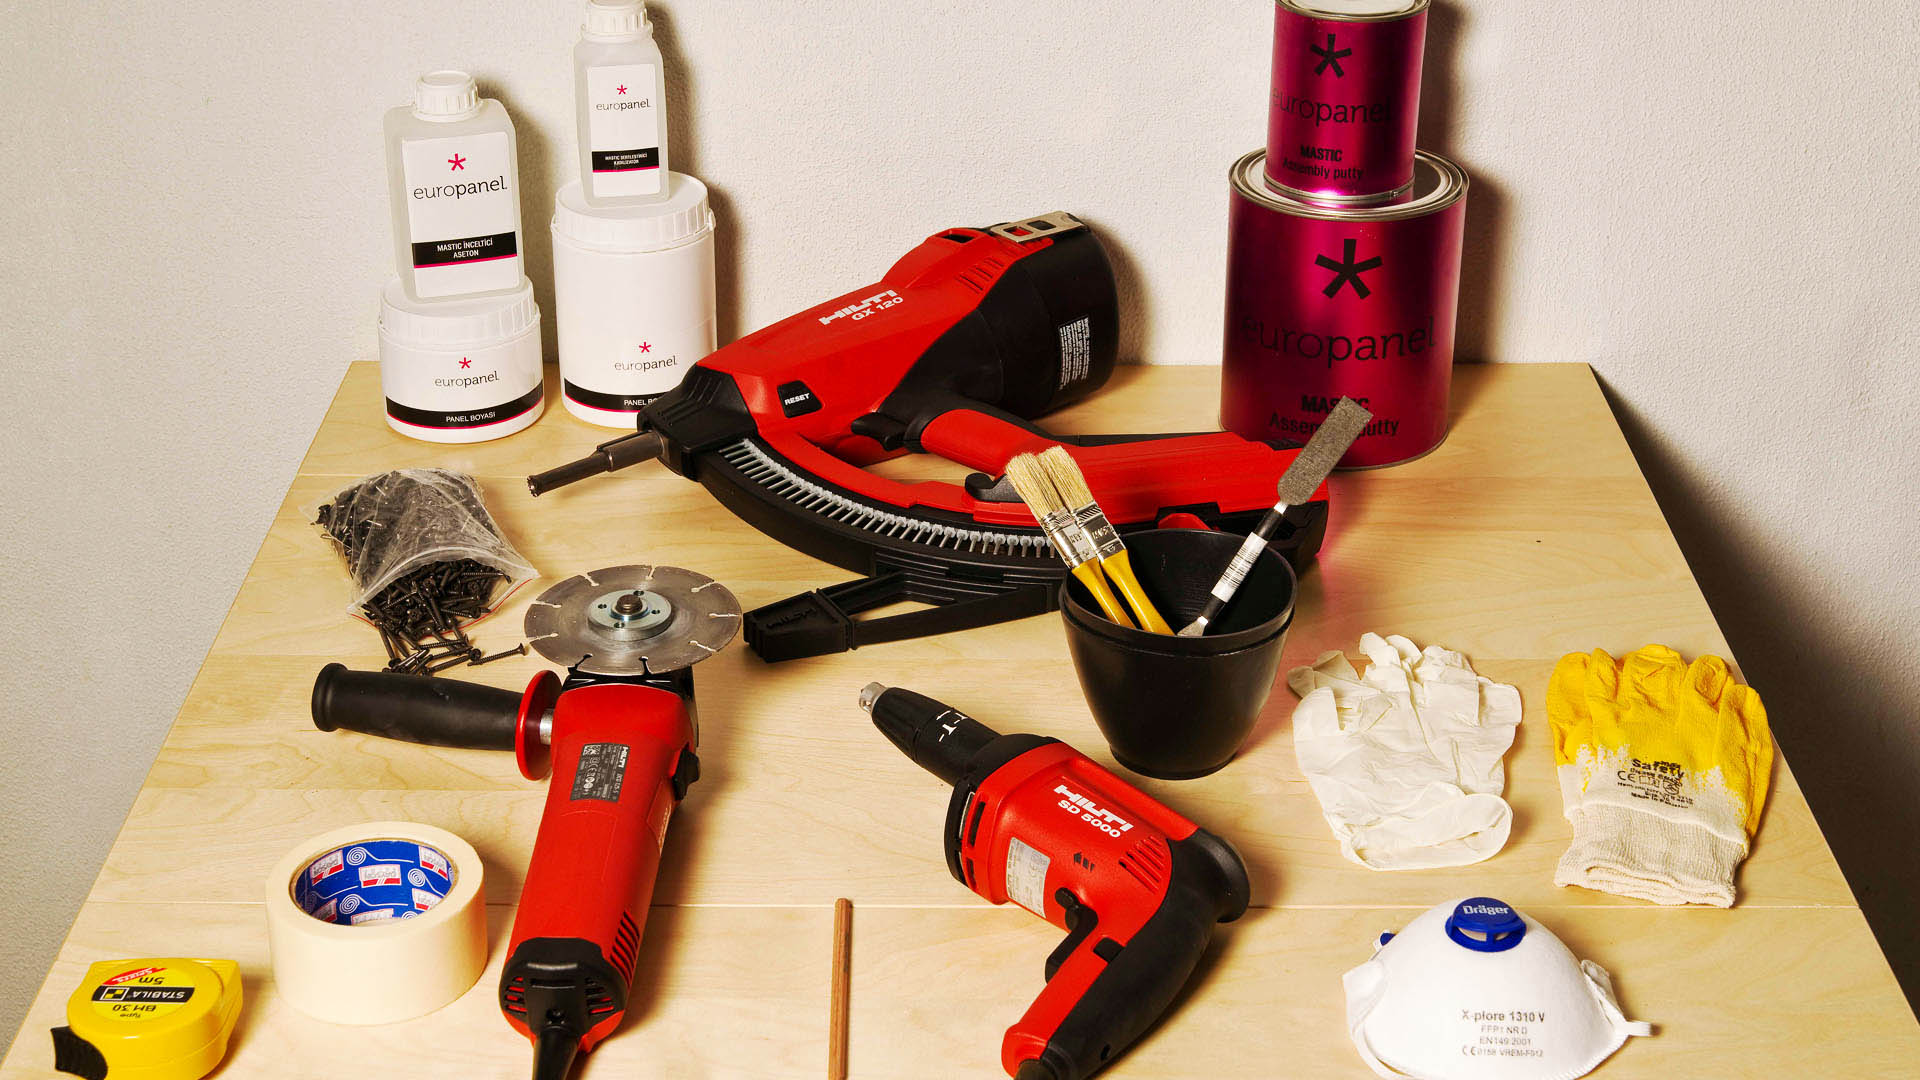
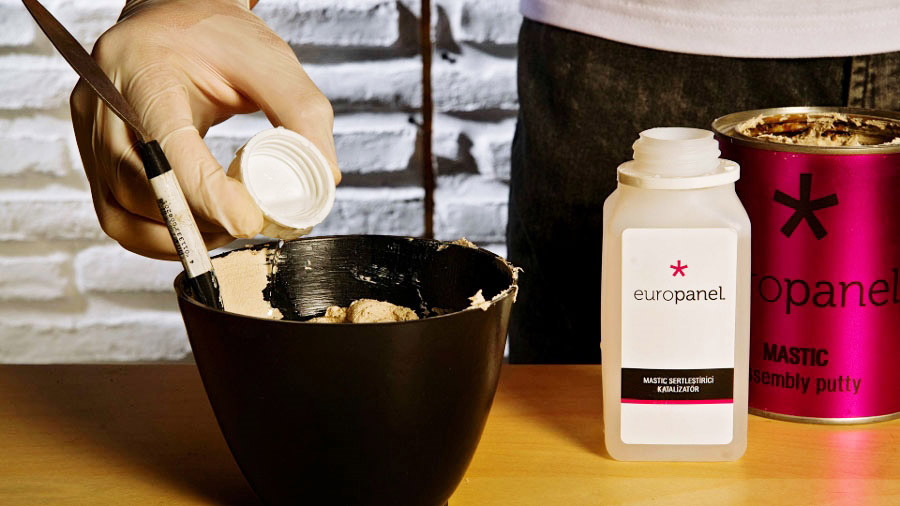
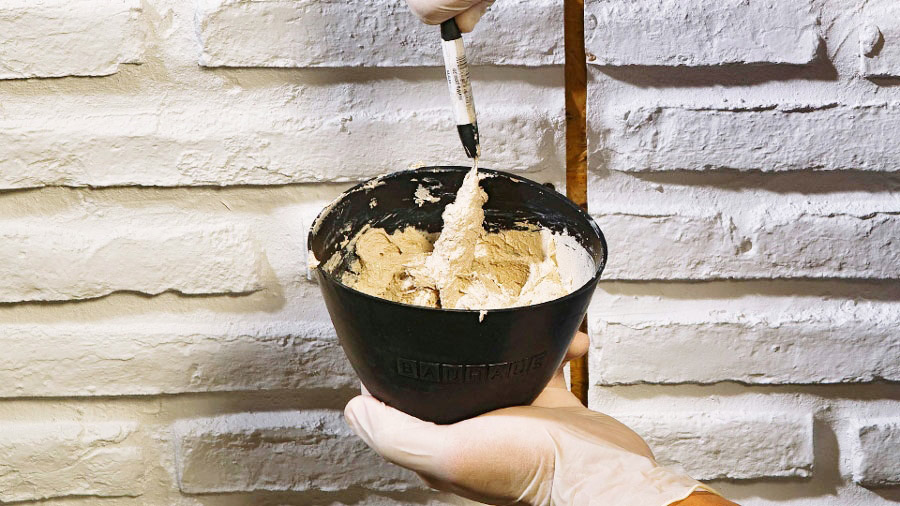
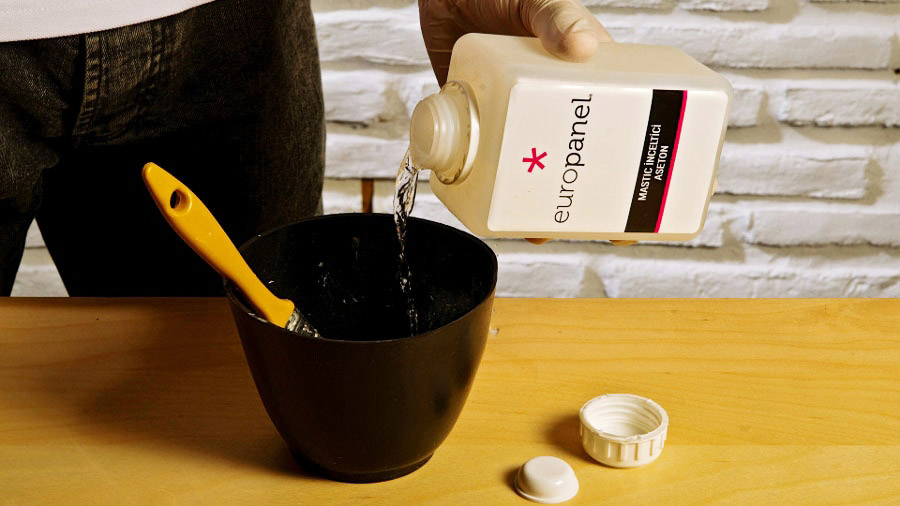
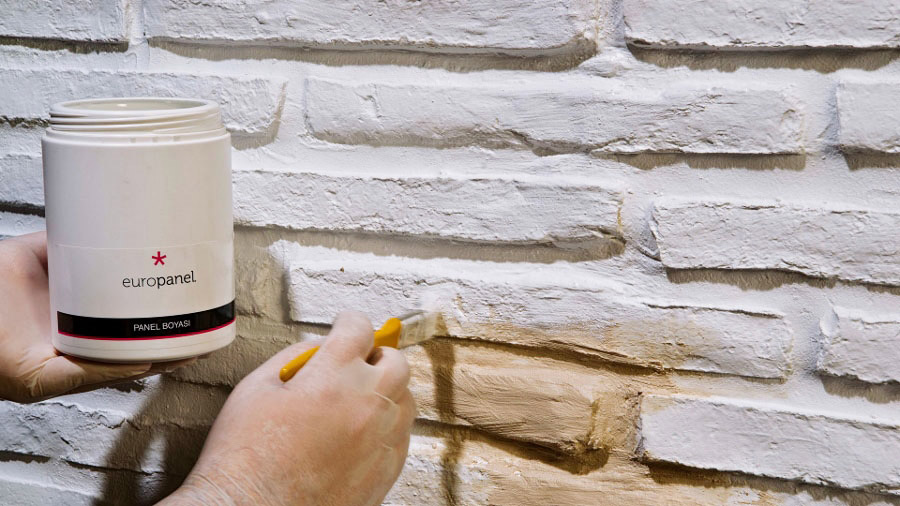
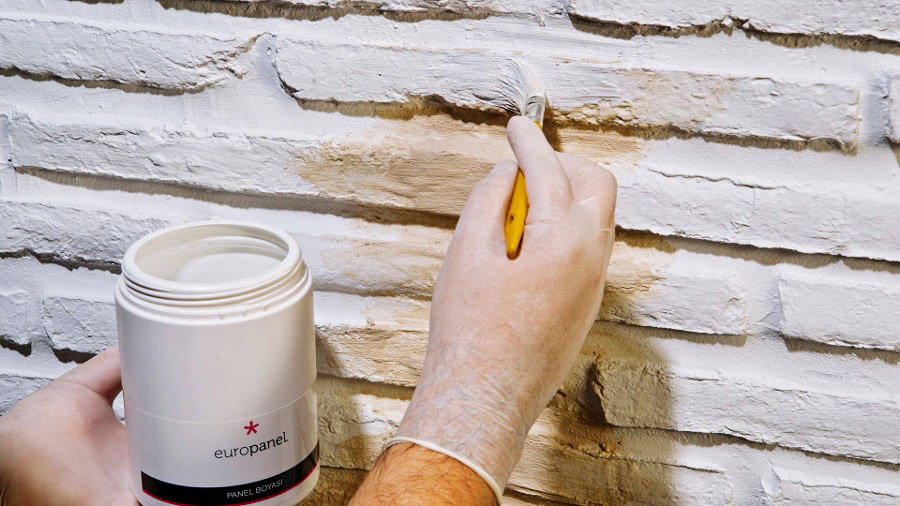
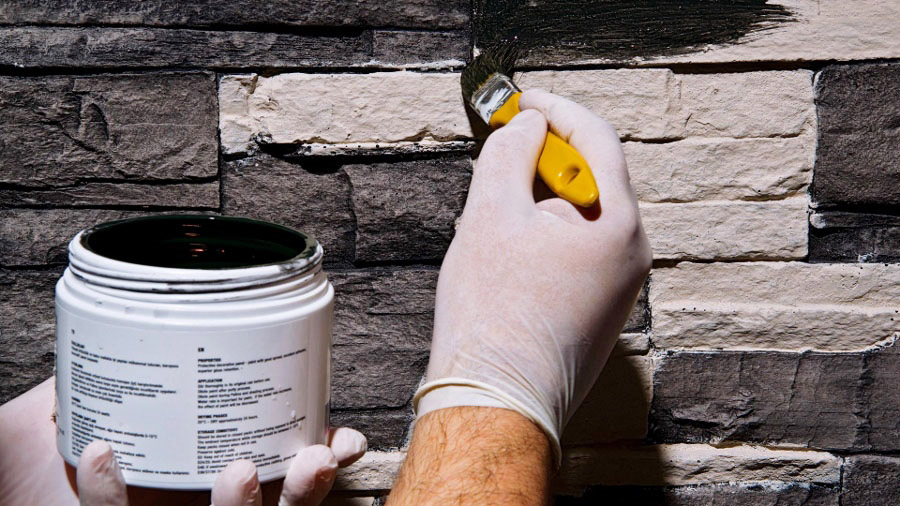
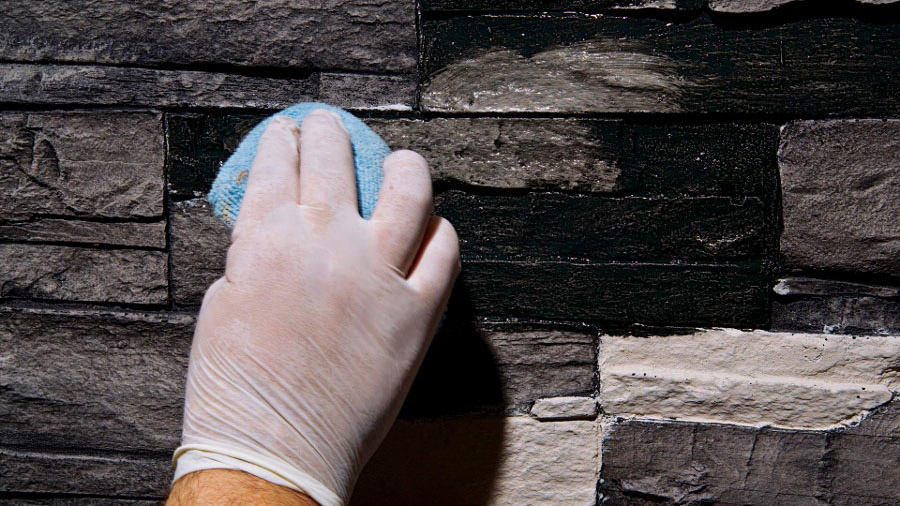
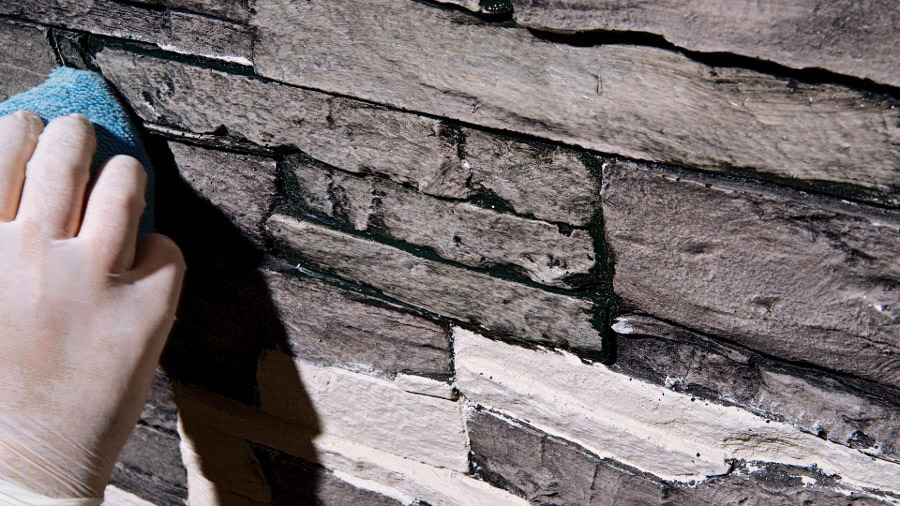
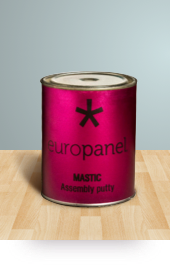
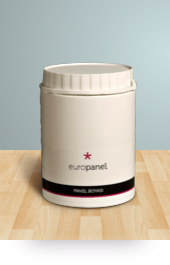
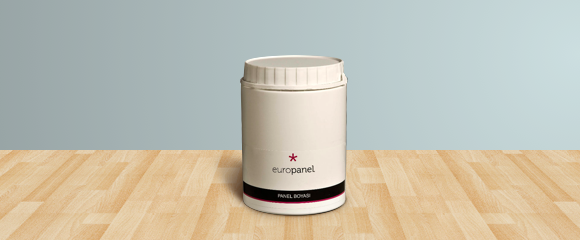
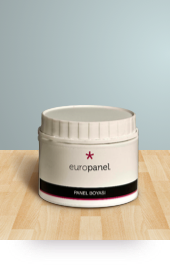
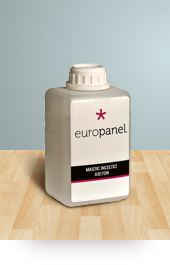
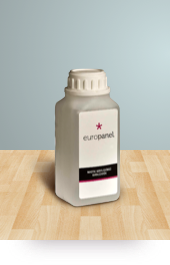
This kit consists of the materials that need to be used during the panel installation including a panel touch-up paint, mastic containing natural stone powder to cover the joints, mastic thinner acetone and, mastic hardener catalyst. This kit is specially prepared depending on the panel model and color.
The number of panels that you should add to the cart is calculated when you enter the square meter measurements. If you check the option “yes” for the installation kit, the installation kit unit price is added to the unit price. You need to buy the installation materials to install the panels.


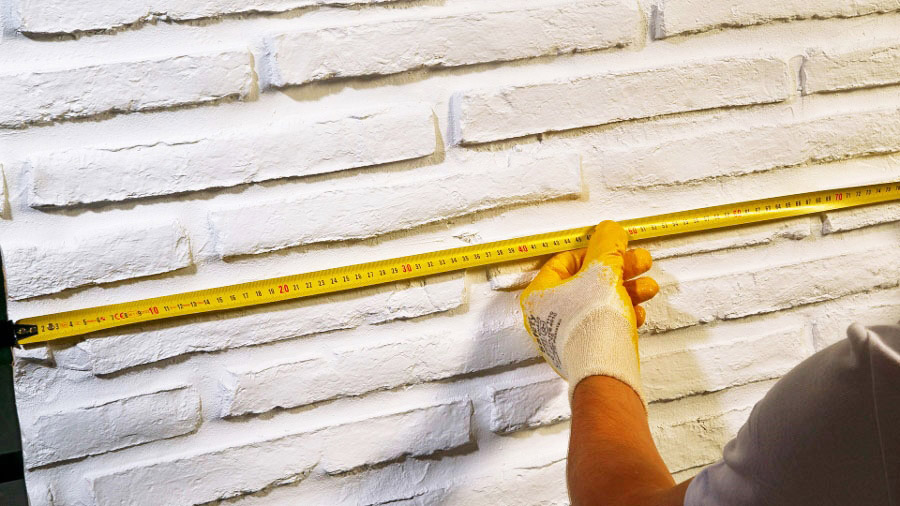
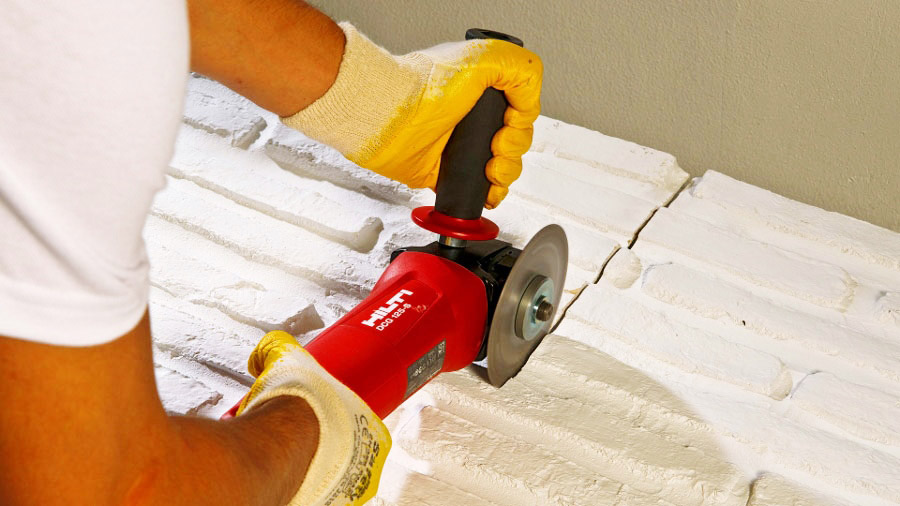
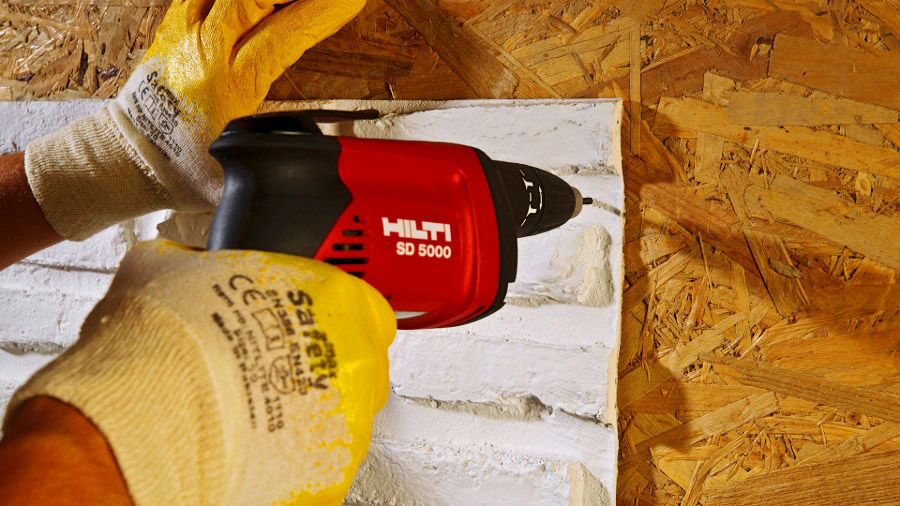
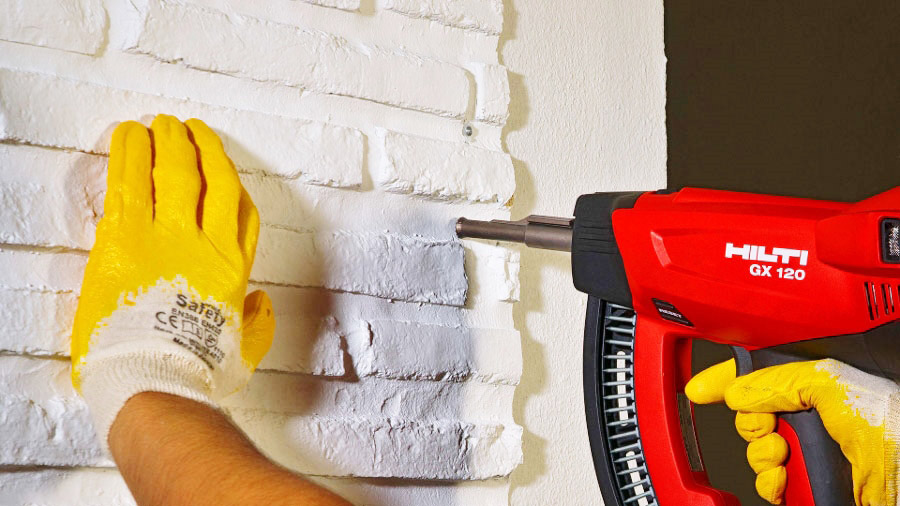
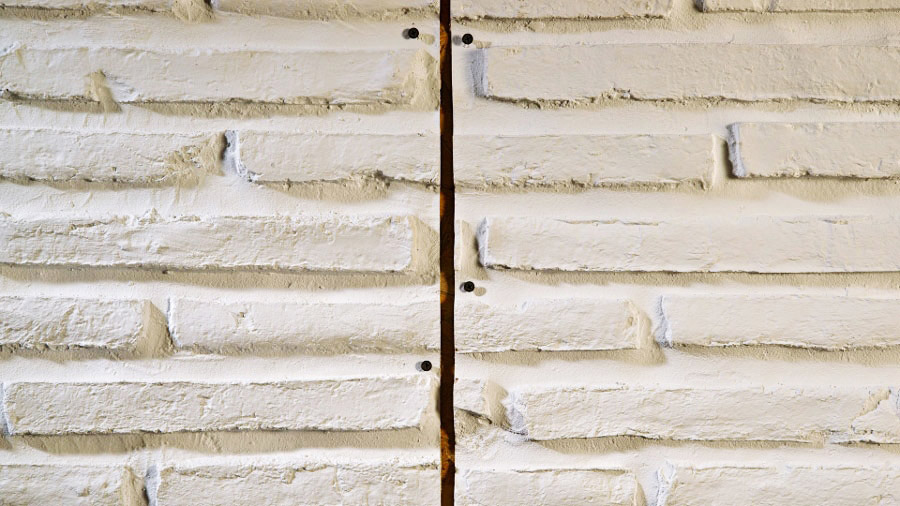
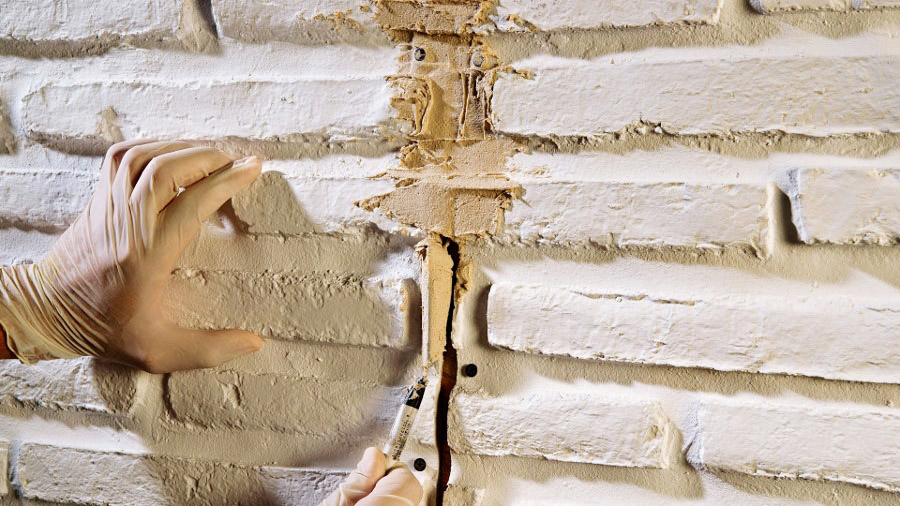
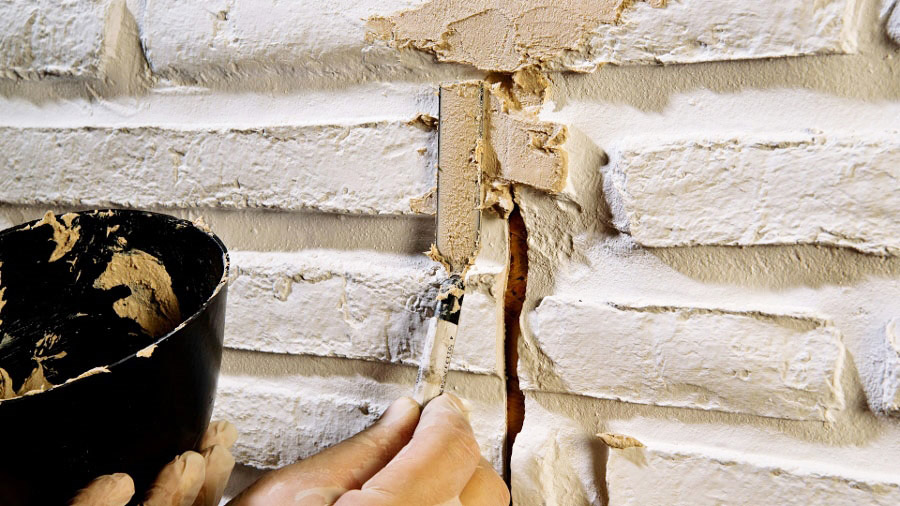
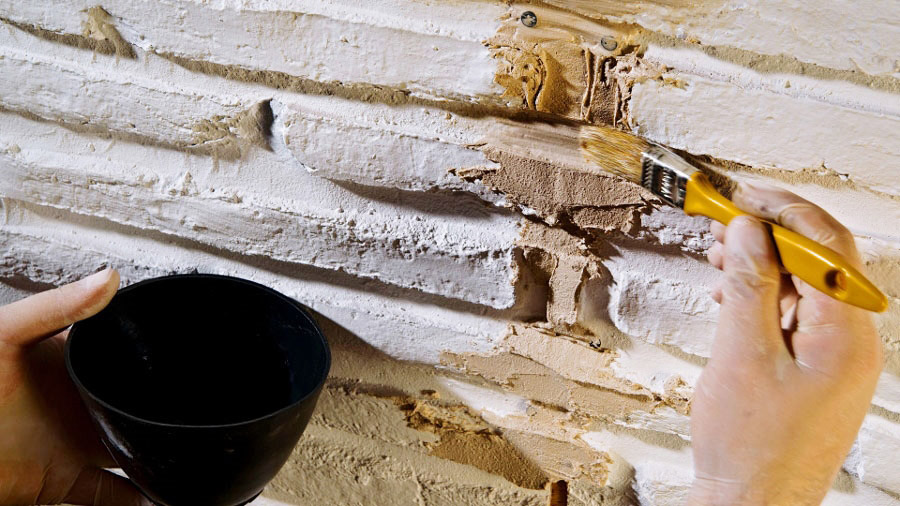
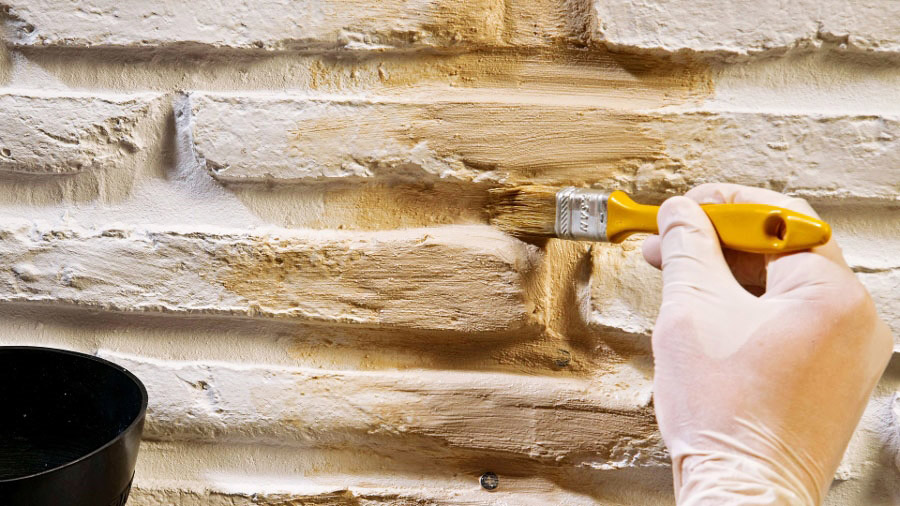
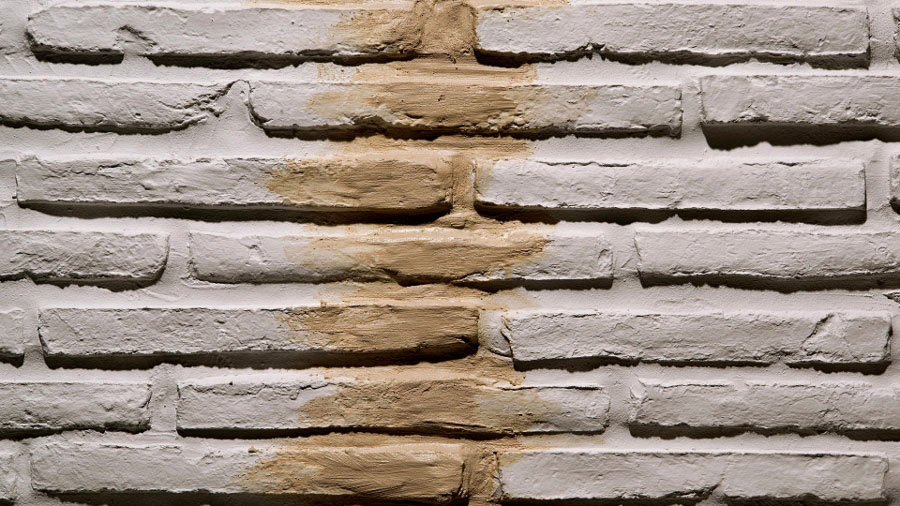
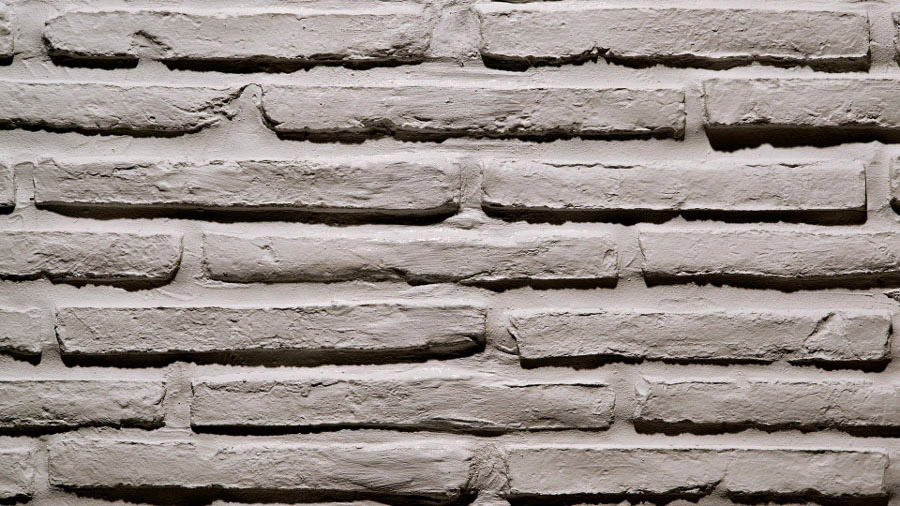
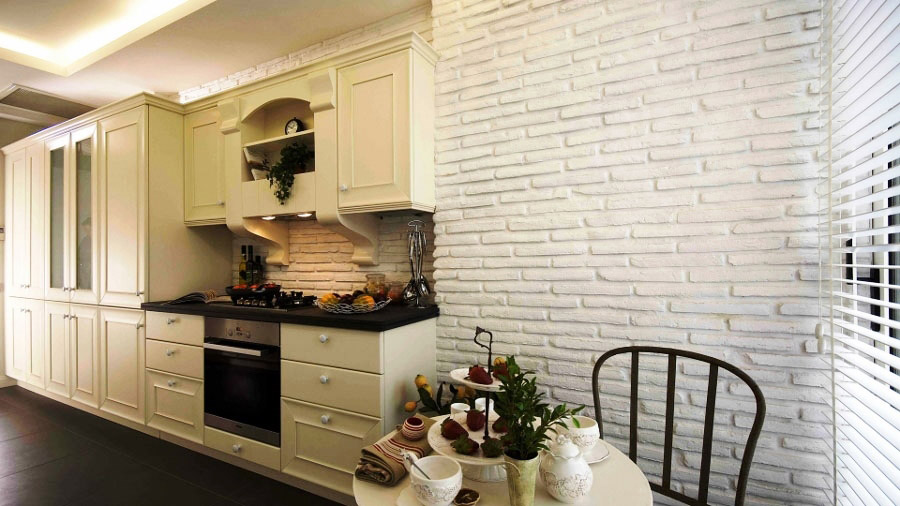
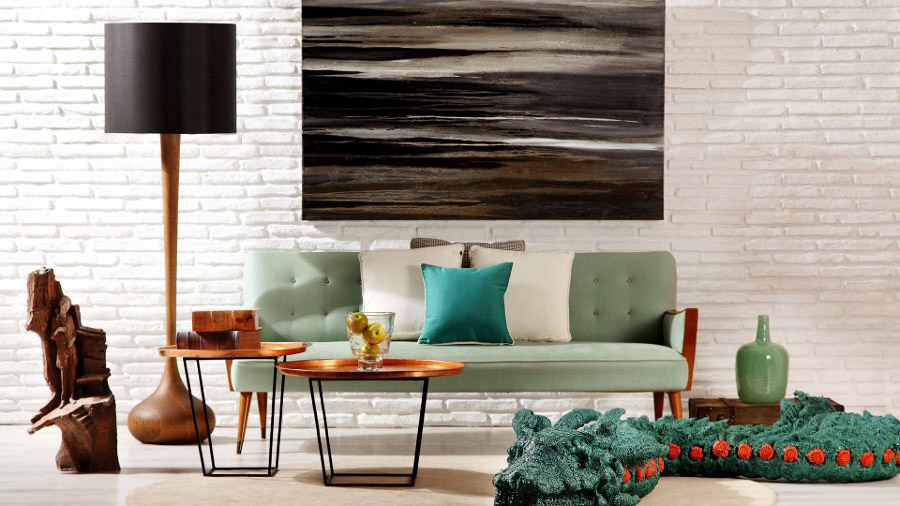
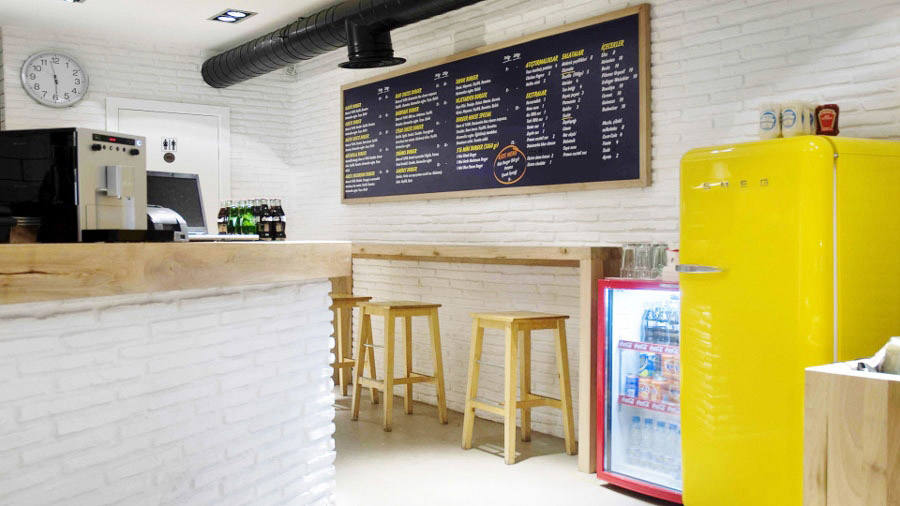
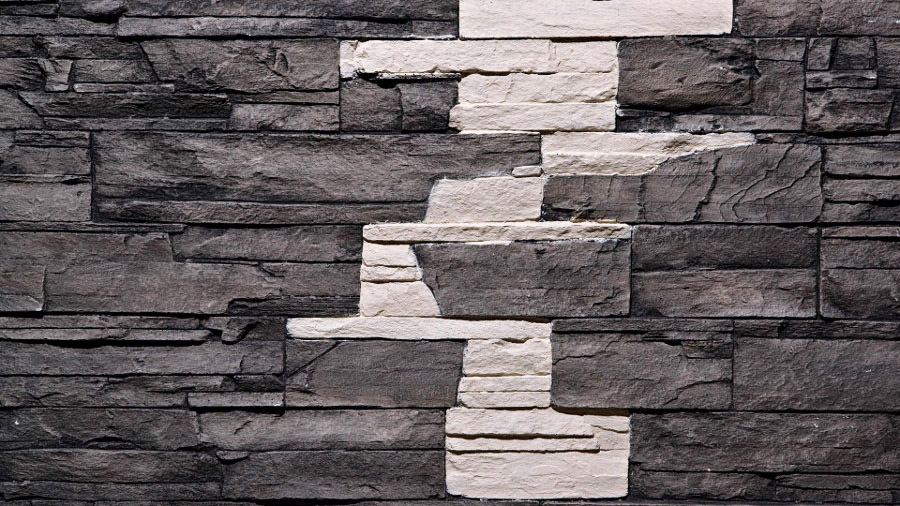
You may have brick, gross concrete or stone walls by means of completing the installation procedures of the Europanel decorative fiberglass wall covering panels. Gypsumboardinstallation teams could easily install the fiberglass wall covering panels since the installation procedures for these two materials are similar to each other. You may ask Europanel to direct contracted installation teams to your place. You may learn how to install the panels in a detailed manner making use of the installation figures and information that we have prepared for you.
 You may choose the quantity in length and the product you need by means of calculating the square meter measurements of the application place or buy samples to practice them.
 When you enter your square meter measurements of your place on the product page, the system will calculate the number of panels you need.
 You may enjoy discounts based on your project and quantity and, make use of the advantages of our installment options for your Bonus credit cards.
 You may take delivery of your products through your contacted courier services or from our store by person.
 You may install the products with your teams or ask us to direct an installation team to your place.